Dashboard Pages
Wix Apps can extend the Wix Dashboard by adding new pages to the dashboard. You can create a dashboard page to help users manage their sites or businesses. Dashboard pages aren’t part of a live site, so site visitors will never see them.
Dashboard page files
Within your app project, the source code for dashboard pages is found in the src/dashboard/pages folder.
Each page is defined in its own subfolder that contains two files:
page.json: Defines the page metadatapage.tsx: Defines the page content
The location of the page's subfolder determines the route to the page.
Page metadata (page.json)
The page.json file contains the dashboard page metadata.
The page metadata is defined using the following schema, shown here as a TypeScript type:
1type BackOfficePageConfig = {2 id: string;3 title: string;4 additionalRoutes?: string[];5 sidebar?: {6 disabled?: boolean;7 categoryId?: string;8 priority?: number;9 whenActive?: {10 selectedPageId?: string;11 hideSidebar?: boolean;12 };13 };14};
Here's an example metadata definition:
1{2 "id": "15a6e3ad-620e-416b-840d-367be43a4fd8",3 "title": "My CLI App Page",4 "sidebar": {5 "categoryId": "041e3b2a-d25b-47ce-8162-dfdfe0e64785",6 "whenActive": {7 "hideSidebar": true8 }9 }10}
id
The page ID (GUID). The ID is used to register the page in Wix Developers Center. The ID must be unique across all pages in the app.
title
The page title. The title is used as the browser tab title and as the dashboard sidebar label if the page is configured to appear in the sidebar.
additionalRoutes (optional)
A list of routes that lead to this page (in addition to the main route defined by the file path convention). This is useful if you want to support multiple routes for the same page or for backwards compatibility.
For example, if you want both /products and /products/list to lead to the same page.
sidebar (optional)
An object that defines the behavior of this page in the dashboard sidebar.
sidebar.disabled (optional)
Whether the page is shown in the sidebar. If true, the page is not shown in the sidebar. Defaults to false.
sidebar.categoryId (optional)
The ID of the category to associate this page with, as defined in the sidebar categories configuration.
sidebar.priority (optional)
The priority of the page entry in the sidebar. Determines the page location in relation to other app pages. Smaller numbers mean higher priority.
sidebar.whenActive.selectedPageId (optional)
When the page is the currently active page, this setting determines the page that is selected in the sidebar.
You can use this you have a page that is a nested page and doesn’t have an entry in the sidebar, but you want the sidebar to display some page as active.
For example, you might have a number of pages for a specific products. You don't want these pages cluttering up the sidebar, so you set them not to display there. However, when one of the product pages is active, you might want the products list page to be selected in the sidebar.
Defaults to the current page.
sidebar.whenActive.hideSidebar (optional)
Whether the sidebar will be shown when the page is active. If true, the sidebar is hidden when the page is active. Defaults to false.
Hiding the sidebar creates a more immersive experience by gaining more screen real estate.
Page content (page.tsx)
The page.tsx file contains the dashboard page content.
The content is defined as a React component that renders when the page is active.
Inside a dashboard page component you can use:
- The Dashboard SDK to navigate users to pages in the dashboard, display modals, and send users alerts and updates using toasts.
- The Wix Design System to use the same React components Wix uses to build its own dashboard pages.
Page Routes
The location of a dashboard page files within the src/dashboard/pages folder determines the route to the page. The route is the path that is appended to the dashboard base URL to access the dashboard page. Therefore, you should name your page folders using URL-friendly names.
To create longer routes, nest page.json files inside of subfolders.
For example, consider this folder structure:
1src2└── dashboard3 └── pages4 ├── products5 │ ├── page.json6 │ ├── page.tsx7 │ └── analytics8 │ ├── page.json9 │ └── page.tsx10 ├── orders11 │ ├── page.json12 │ └── page.tsx13 ├── page.json14 └── page.tsx
This app adds 4 pages to the dashboard:
- Index page (
dashboard/pages/page.json) - Route:/ - Products page (
dashboard/pages/products/page.json) - Route:/products - Analytics page (
dashboard/pages/products/analytics/page.json) - Route:/products/analytics - Orders page (
dashboard/pages/orders/page.json) - Route:/orders
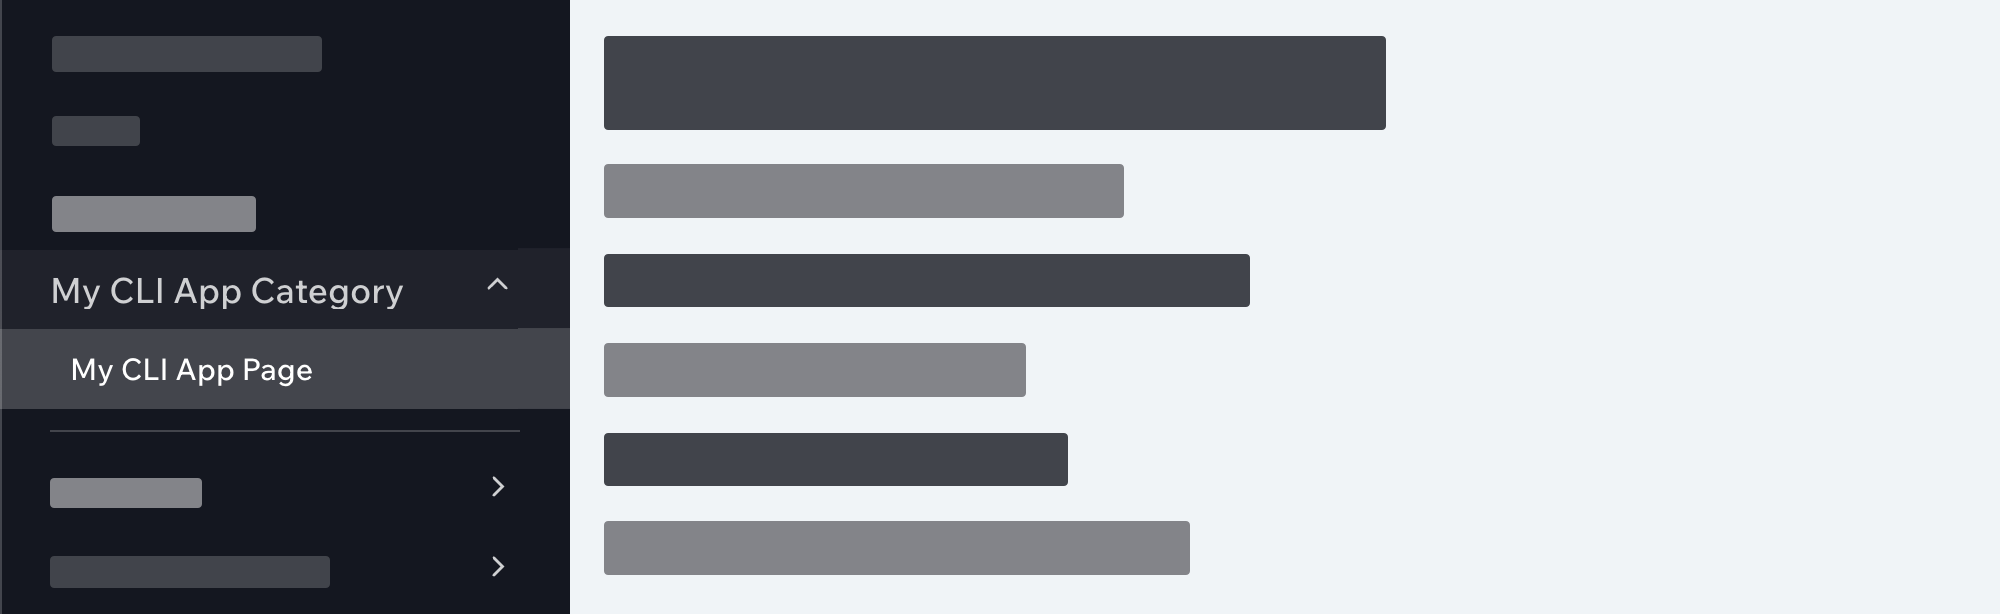
Sidebar Categories
The dashboard sidebar is divided into categories. Each category is defined by a category ID and a category label. The category ID is used to associate pages with a specific category. The category label is used as the display label of the category under which all the pages that belong to that category can be found.
Category Configuration
The wix.config.json file in the root of the app project defines your app's sidebar categories.
The categories are defined using the following schema, shown here as a TypeScript type:
1type WixConfigJSON = {2  // ... other configurations3  dashboard?: {4    sidebar?: {5      categories?: Array<SidebarCategory>;6    };7  };8};9
10type SidebarCategory = {11  id: string;12  label: string;13  priority?: number;14};
Here's an example configuration:
1"dashboard": {2 "sidebar": {3 "categories": [{4 "id": "041e3b2a-d25b-47ce-8162-dfdfe0e64785",5 "label": "My CLI App"6 }]7 }8}
SidebarCategory
id
The category ID (GUID). The ID is used as a reference to the category from page configurations. The ID must be unique across all categories in the app.
label
The text to display as the category label in the sidebar.
priority (optional)
The priority of the category in the sidebar. Determines the category location in relation to other app categories. Smaller numbers mean higher priority.
Add a new dashboard page
To add a new dashboard page to your app:
- Create a new subfolder under
src/dashboard/pagesthat will determine the route of your page. - Add a new set of
page.jsonandpage.tsxdashboard page files to the subfolder you created. - Add the page metadata to the
page.jsonfile. - Add the page code to the
page.tsxfile.
Delete a dashboard page
To delete an existing dashboard page from you app, delete the subfolder under src/dashboard/pages that contains your dashboard page's files.
Note: If you've already created a version of your app, deleting a dashboard page's files from your project will not remove the registration of the dashboard page from the Wix Developers Center. To remove the registration, create a new version after deleting the dashboard page's files.