Set Up an External Pricing Page
A pricing page shows a user what upgrade options are available when they've installed your app. It displays all the key features included with each pricing tier.
This article focuses on managing and displaying this on your own platform. If you want Wix to host it for you then read how to set up Wix's pricing page.
Important:
Before going any further, you'll need to make sure you've set up your Pricing Plans.
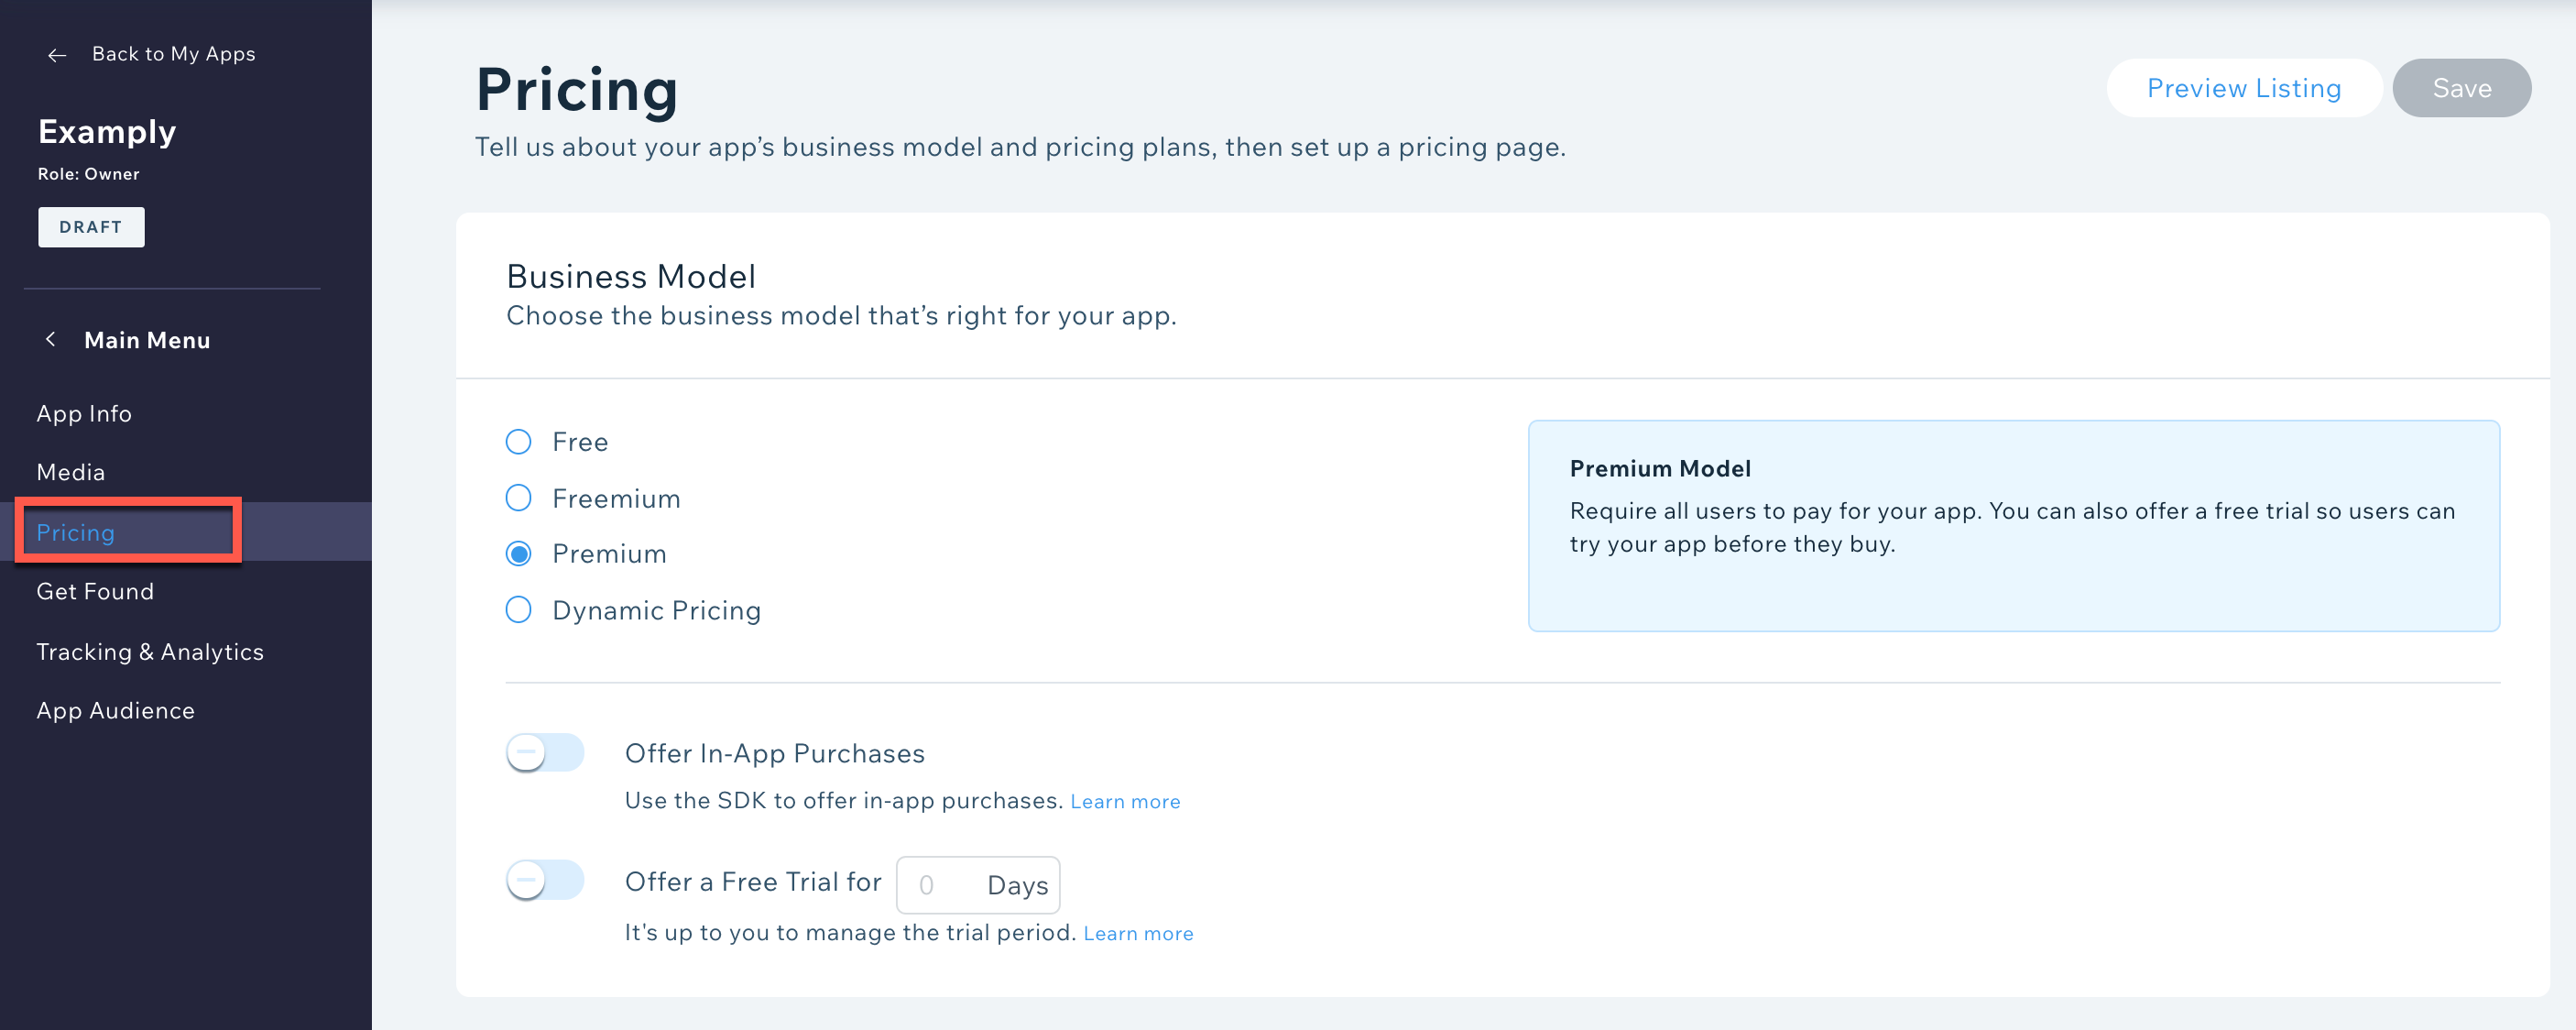
You can find the Pricing tab in the Wix Developers Center under Market Listing:
1. Set up OAuth and webhooks
First, you'll need to make sure you've set up OAuth and signed up to all the relevant webhooks (e.g. Paid Plan Purchased). These will provide the info you need from users that interact with your app.
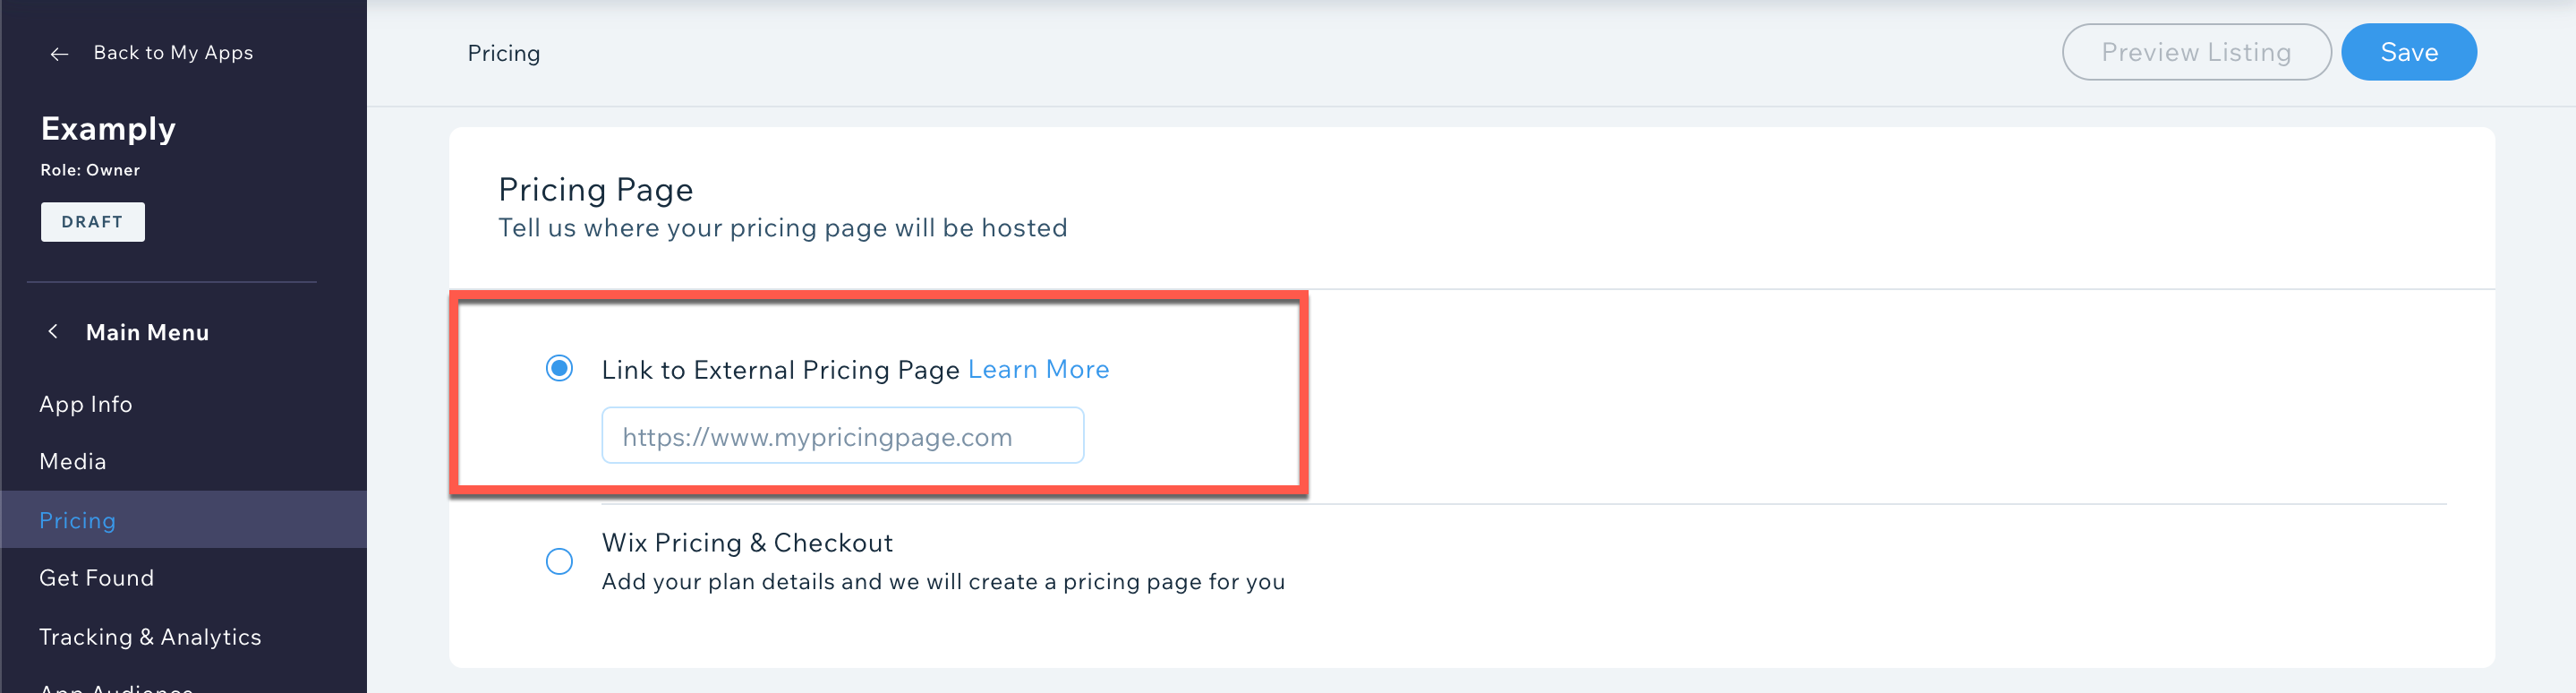
2. Choose external pricing
Scroll down to Pricing Page, select Link to External Pricing Page, then add the URL for the page you want to use.
Click Save.
3. Lead users to your pricing page
Your pricing page can be reached in two ways:
Your App Market listing: Users who click this link usually want to see your pricing, but probably haven't installed the app yet. Make sure these users can see the pricing without needing to sign up.
The Upgrade App button in Manage Apps: We attach a query parameter to your pricing page with the user's App Instance when they click this link. This lets you automatically identify users, log them in, and show them relevant pricing info.
Tip:
Use each user's unique App Instance ID to recognize them as a Wix user and display the right settings.
4. Connect your CTAs to the Wix API
Connect each of your plans' call-to-action buttons on your pricing page to the checkout link you receive from Wix's Billing API – the link's valid for 48 hours, so you need to refresh this regularly.
5. Redirect users to the checkout link
When a user clicks a plan's CTA, you'll need to direct them to the checkout link you received in the API response. This means they'll continue the checkout process within Wix.
Once the user completes their purchase, we'll redirect them to the Success URL you submitted in the API call (if the purchase was successful). If you haven't included a Success URL, we'll use our own default success page.
If you've registered to the Paid Plan Purchased webhook, you should receive it at this point.
The webhook payload includes the Plan ID.
To validate that the user has signed up to a premium plan, call the App Instance endpoint to return the user's plan.
6. Prevent users from downgrading
Make sure that users can't downgrade using your External Pricing Page – this includes switching from yearly to monthly pricing. To downgrade, or switch to monthly pricing, users need to cancel their subscription and purchase the cheaper plan.
Important:
If your app uses an Internal Dashboard, set your Success URL so that it leads back to the Dashboard by using https://www.wix.com/my-account/app/<appID>/<AppInstanceID>
Note:
During development, all your plans will be automatically set to a price of 0.00, so you can test the flow. Once your app's approved, your plans' real prices will be activated and you'll receive a coupon for testing.